ENAMEL RATING: FAILURE MODE AND EFFECT ANALYSIS (FMEA)
Written by: Niña Muñoz
Date: July 28, 2020
What is Enamel Rating?
Food cans have a lacquer layer inside them to protect the contents from spoiling and from damaging the can itself. An unlacquered can or a can with unreliable coating integrity could result in corrosion, which is caused by the aggressiveness of the content touching the bare metal. Corrosion could then lead to holes and leaks in cans, which would definitely destroy a company’s reputation. To prevent this from happening, companies rely on enamel rating.
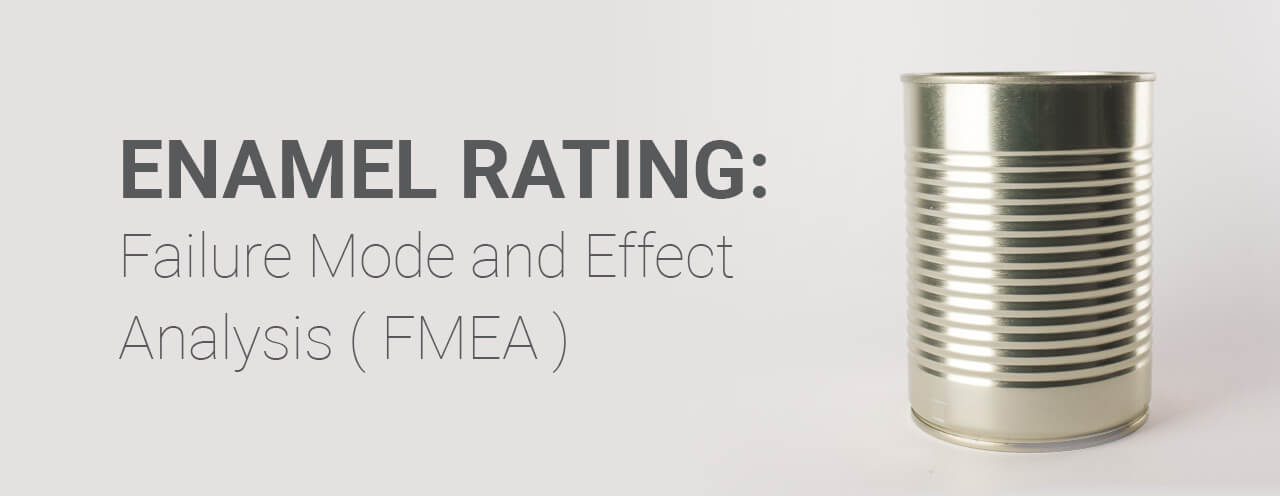
Enamel rating is a method of checking the integrity of the lacquer layer by measuring the conductivity of the can.
How does the process work?
The way to test the lacquer integrity of a can is through enamel rating with a voltage source of 6.3V. Operators fill the can with electrolyte, which conducts electricity to measure the current that passes through. If there is a hole in the lacquer or if the coating coverage is not full, the electrolyte will then touch the metal and conduct electricity, which will be shown in the gauge. The bigger the reading in the enamel rating test, the bigger the hole in the lacquer layer.
High value (in the reading) = bad can
Low value (in the reading) = good can
For a particular product/content and can combination, there will always be a maximum enamel rating that is acceptable. For example, if the content of the can has an aggressive composition, the value of the enamel rating should be very low. If not, the aggressiveness of the content will eat through the can and will mess the whole product. If the content of the can is not that aggressive like oil, a high enamel rating could still be considered good.
Over the years, Innosen has done some thorough investigation of the failure modes of the enamel rating process.
The changes made to the hardware of the enamel rating fixtures have been the result of identifying those failures.
What faults have been identified?
- POOR CONTACT WITH THE METAL SUBSTRATE
Problem: If the contact with the metal substrate has not been established properly, this will result in an apparent series resistance in the measurement loop. As a result, all the measured values seem better than they really are.
- CORROSION OF THE MEASUREMENT PROBE
Problem: Due to corrosive liquids being used for the enamel rate test, the probe that is exposed to the liquid corrodes. Once it is covered with corrosion layer, this layer forms a series resistance that makes the enamel rating reading appear better than it really is.
- ELECTRONIC FAULTS: CALIBRATION LAPSES
Problem: The electronics unit is calibrated once a year under ISO requirements. If a fault develops in between two calibrations, this could go unnoticed and lead to faulty measurement results for a prolonged time.
- ENAMEL RATING LIQUID TOUCHES THE CUT EDGE OF THE MEASURED OBJECT (END ENAMEL RATING ONLY):
Problem: Most fixtures in the market use a standard O-ring to seal the end into the measurement fixture. After measurement, the cohesion force lifts the liquid to the highest point of the O-ring seal. From there, it runs down on both sides of the seal under the force of gravity. If enough liquid has been accumulated, it can touch the cut edge. This can cause problems for subsequent measurements, as in this case, the readings will appear too high.
- FILL LEVEL INCONSISTENCY
Problem: Some operators do not fill the can to the right level. This lower level means that part of the can is not evaluated during the test. This could lead to wrong readings.
- HUMAN INTERVENTION: TEST INFLUENCED BY OPERATORS REMOVING BAD CANS
Problem: Operators have been known to remove cans from a batch of cans if they were found to have high readings, because defective cans could affect their bonus scheme. When they start an enamel rate test and then see the result would be much higher than what is allowed, they would abort the test (before the 4 second time elapses) and substitute the bad can with a good can.
- DEFECTIVE BUTTONS ON THE ELECTRONICS UNIT
Problem: On most systems, the operators need to press buttons to store the measured values or to switch-on the vacuum in case of end measurements.
SOLUTION:
Considering all of the enamel rating problems identified above, Innosen has specifically designed an enamel rater that would address these issues by developing the IS9015 Can Stand for Enamel Rater. It is specially designed for high accuracy of results and versatility, not only eliminating incorrect readings but also allowing more types of cans to be tested with just one equipment.
Special features of Innosen IS9015 Enamel Rater Adapter:
- Contact-checking
- Innosen has designed all its measurement fixtures to use two probes, each making contact with the substrate. These probes go back to the electronics unit and the resistance between the two probes is measured on a continuous basis. Only when the contact resistance is 0 ohms then the enamel rate test will run. Even if the contact deteriorates during the test (due to for example vibration), the test will be interrupted until good contact has been re-established. This way, the error will be eliminated.
- Titanium Probes
- All the Innosen measurement fixtures have titanium probes. Titanium is as inert as glass in the enamel rating environment. No more probe corrosion, thus, accurate results!
- Built-in Calibration Resistors
- Innosen has built 3 calibration resistors into every test fixture they manufacture. The recommended SOP (Standard Operating Procedure) prescribes that before every measurement cycle, the operator verifies the system calibration and linearity. He subsequently measures the batch. After the batch has been measured, the operator will verify the calibration again. If the enamel rating equipment is correct before and after the measurements have been taken, it is almost impossible the measurements were wrong. This test verification eliminates errors that could occur in between calibrations.
- Specially designed seals for ends
- Innosen uses a specially designed seal to make sure the liquid used in testing run back into the basin without touching the cut edge, eliminating faulty readings.
- Electrolyte level check
- The electrolyte level check is performed through the enamel rater’s level probe. This assures that the level of the liquid is correct and prevents the test from starting if the fill level is insufficient. This feature eliminates the fault mode.
- Semi-automatic operation
- All Innosen measurement fixtures can take the measurements automatically. The operator will only have to move the cans or ends in and out of the measurement fixture. The measurement of a batch of cans or ends itself does not require the operator to press or turn any buttons. As no buttons are used they also won’t fail.
Lastly, to make sure that the enamel rating test will not be influenced by the operator, Innosen has made an enamel rater that can blank the display on the electronics unit during the test. Only once the 4 seconds test is finished will the result be shown. At that point, the system will already have sent the measured value to the central data collection system, avoiding operator influence (only possible if connected to a data collection system).
To inquire about the IS9015 Can Stand for Enamel Rater, please contact us at [email protected].
RELATED PRODUCTS:
OFFICES
Spain
Romà Piera i Arcal, 8
08330 Premià de Mar (Barcelona)
Spain
Main Multilanguage Tel:
+34 937 549 526
Email: [email protected]
Hong Kong
11th Floor Dah Sing Life Building
99 Des Voeux Road Central
Hong Kong
Tel: +852 2127 0699
Philippines
808 Citystate Centre Building
709 Shaw Boulevard
1600 Pasig City
Philippines
Tel: +63 2 8696 6965 /
+63 2 8696 6978
USA
7691 N.Overland Trail
80524 Fort Collins
Colorado
USA
Tel: +1 970 305 8721


